As a trusted supplier of the product 84306 - 09020, I am excited to share with you detailed insights on how to use this particular item. This guide aims to provide you with all the necessary information to make the most of this product, whether you're a professional in the automotive industry or a DIY enthusiast.

Understanding 84306 - 09020
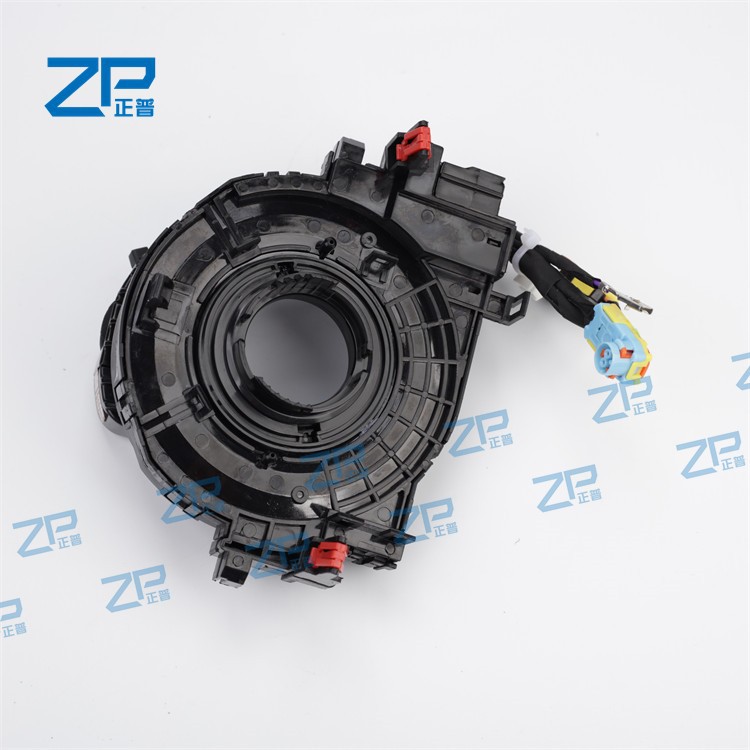
Before delving into the usage, it's crucial to understand what 84306 - 09020 is. This product is typically a specialized component in the automotive field, often related to the electrical systems that connect various parts of a vehicle. It plays a vital role in ensuring seamless communication between different elements, such as the steering wheel controls and the vehicle's main electrical system.
Preparation for Installation
- Gather Tools:
- You'll need a set of basic automotive tools, including screwdrivers (both flat - head and Phillips - head), wrenches, and pliers. Make sure these tools are in good condition and of the appropriate size for the task.
- Additionally, having a multimeter can be extremely useful for testing electrical connections before and after installation.
- Safety First:
- Always disconnect the vehicle's battery before starting any work on the electrical components. This helps prevent electrical shocks and potential damage to the vehicle's electrical system.
- Wear safety glasses and gloves to protect yourself from any sharp edges or debris during the installation process.
- Vehicle Compatibility:
- Ensure that the 84306 - 09020 is compatible with your specific vehicle make, model, and year. Refer to the product documentation or consult with a professional if you're unsure.
Installation Process
- Locate the Installation Area:
- In most cases, the 84306 - 09020 is installed near the steering column. Carefully remove any covers or panels that may be blocking access to the installation area. Use the appropriate tools to unscrew or unclip these components.
- Remove the Old Component:
- If you're replacing an existing component, gently disconnect all the electrical connectors attached to it. Take note of the orientation and position of each connector to ensure correct re - connection later.
- Use the wrenches or screwdrivers to remove the mounting bolts or screws that hold the old component in place. Once removed, set the old part aside.
- Install the New 84306 - 09020:
- Place the new 84306 - 09020 in the same position as the old component. Make sure it fits snugly and aligns correctly with the mounting holes.
- Re - attach the mounting bolts or screws and tighten them securely, but be careful not to over - tighten as this could damage the component or the mounting area.
- Connect the Electrical Connectors:
- Refer to the notes you took earlier and connect the electrical connectors to the new 84306 - 09020. Ensure that each connector is fully seated and locked in place. A loose connection can lead to electrical problems or malfunction.
Testing
- Re - connect the Battery:
- Once the installation is complete, carefully re - connect the vehicle's battery. Make sure the connections are clean and tight.
- Function Testing:
- Turn on the vehicle's ignition without starting the engine. Test all the functions that are connected to the 84306 - 09020, such as the steering wheel buttons for audio controls, cruise control, or airbag system.
- Use the multimeter to check the electrical continuity and voltage at the appropriate points. If any function is not working correctly, double - check the connections and installation.
Maintenance and Troubleshooting
- Regular Inspections:
- Periodically inspect the 84306 - 09020 for any signs of wear, damage, or loose connections. This can help prevent potential problems before they become serious.
- Check for any frayed wires, cracked housings, or corrosion on the electrical connectors.
- Troubleshooting:
- If you encounter issues such as intermittent function or complete failure, first check the electrical connections. Loose or corroded connectors are often the cause of such problems.
- If the problem persists, it may be necessary to replace the 84306 - 09020. However, before doing so, consult with a professional or refer to the product's troubleshooting guide.
Related Products
If you're interested in other similar products, we also offer a range of clock springs for different Toyota models. For example, we have the Clock Spring Spiral Cable Sub - Assy Cinta Airbag 84306 - 52041 for Toyota Echo 2003 - 2005, the Clock Spring Spiral Cable Sub - Assy Cinta Airbag 84306 - 60120 for Toyota Land Cruiser GRJ71 GRJ79 HZJ79 GRJ2, and the Clock Spring Spiral Cable Sub - Assy Cinta Airbag 84308 - 02150 for Toyota Levin 2016 - 2018. These products are designed to meet the high - quality standards and ensure optimal performance in your vehicles.
Conclusion
Using the 84306 - 09020 correctly is essential for the proper functioning of your vehicle's electrical systems. By following the steps outlined in this guide, you can install, test, and maintain this product effectively. If you have any further questions or need assistance with your purchase, don't hesitate to contact us. We're here to help you make the best choice for your automotive needs and ensure a smooth procurement process. Reach out to us for more information and to start a purchase negotiation.
References
- Automotive Electrical System Manuals
- Product Documentation for 84306 - 09020
- Industry - standard Automotive Repair Guides


